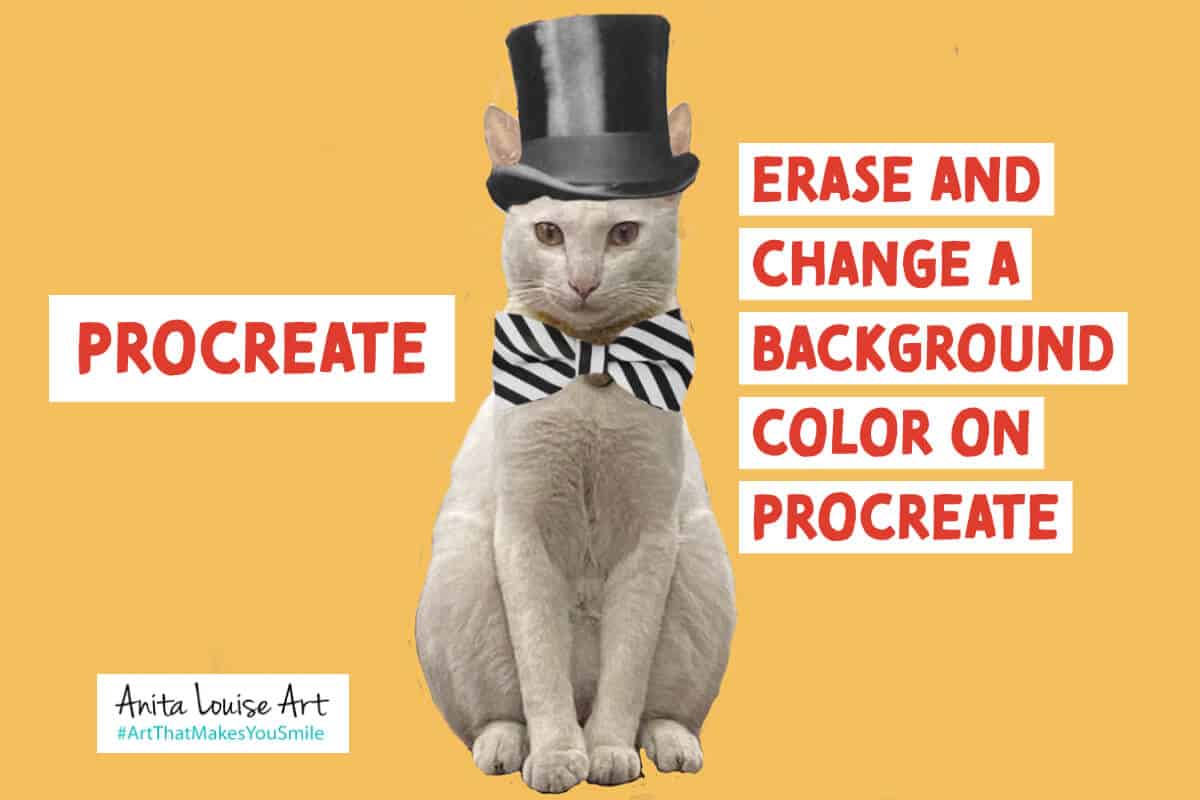
The Procreate app is a great tool that every artist should consider using. I use it to help me lay out my painting before I paint any oil paints on my canvas.
With Procreate, it is straightforward to erase the background with their erase tool; this tool works similarly to how you would erase on paper using a pencil and eraser. Once the background is erased, you can use the color palettes to change the background color quickly.
Table of Contents
- Mastering Background Modifications in Procreate: Erasing and Color Alterations
- Steps To Erasing Your Background
- Steps To Changing The Background Color
- Frequently Asked Questions
- Related Questions
Mastering Background Modifications in Procreate: Erasing and Color Alterations
Procreate stands as an indispensable asset for artists navigating the digital realm, offering a seamless blend of traditional and modern artistic methods. I personally utilize Procreate to meticulously plan my compositions before the application of oil paints on canvas.
The app’s intuitive eraser tool mimics the familiar action of erasing pencil marks on paper, allowing for effortless background removal. Following this, Procreate’s diverse color palettes come into play, enabling artists to swiftly and efficiently alter the background color to suit their creative vision.
When using the Procreate app, you can take a photo of your painting or what you will paint and then erase the parts of the background you do not want. This can help save you steps in your painting as you will not paint one background to discover you do not like it, so you need to repaint the color.
Watch Our Video About How To Erase And Change the Background in Procreate
You can watch our video below that shows you all the steps to be able to erase and change the background color on Procreate.

Steps To Erasing Your Background
Procreate gives you a straightforward way to erase the background or erase anything on your Procreate canvas. It is as simple as erasing something on a piece of paper.
You need to first go to the eraser function at the top left-hand side of Procreate; you can adjust the eraser just as you would adjust a pen, pencil or brush with the Procreate app.
Steps To Erase in Procreate:
- Erase on the correct layer – If you try to erase something and it is not erasing, then the reason is that you are not on the right layer. Procreate will only allow you to erase the layer with the desired items. One of the most important things you can do is ensure you are on the correct layer and erase the things you want.
- Erase large areas first – I will start with a large-sized eraser and then start erasing the large areas around my photo. This allows me to get large sections of the photo first. I like how quickly the eraser will clean things up on my canvas.
- Erase a line around the photo – Next, I will bring the eraser’s size down, and then I will make a line around the edge of my photo or object I want to erase. If I want to get a very close line, I will use my fingers to enlarge the canvas to see exactly where I am erasing.
- Erase all other areas – Once this is done, I will start erasing all the other canvas areas. Usually, at this point, I can make my eraser size larger to get larger areas of the canvas without touching the object or the photo that I do not want to erase.
Procreate makes it much easier to erase the background than using another app like Photoshop or Lightroom. Even though there are reasons why sometimes you will not want to use the Procreate app, I find when I am laying out my canvas for painting or checking the background color; Procreate is my fastest option.
Steps To Changing The Background Color
A way I use Procreate is I will use it to help me to decide what background color I want to use for my painting. Procreate will allow me to check and test many different colors and backgrounds before oil painting onto my canvas.
Steps To Change The Background Color In Procreate
- Be On the Background Layer – To change the background color; you must actually be on the background layer, the first layer in Procreate. You cannot change the background color if you are not on the background layer.
- Change the color from Your Color Palette – When you are on the background layer, you will see the background layer notice at the top of your color palette; the color palette will say “background.” This is how you know that you are on the background layer. Tap on the color you want to change, and the background color will automatically change to that color.
Procreate is an excellent app for artists to use to help them to be able to save time with their painting. I do not use Procreate to produce digital art, but I use it to help me lay out and plan my painting before I paint anything on the canvas. I believe that this is a tool that every artist should use.
Procreate can help you save time with your artwork as you can use Procreate as a guide to help you know exactly what you will paint and how you will paint it. It can help you choose the colors you will use in your painting.
This means that with Procreate, you can lay out your artwork digitally before you paint anything on the canvas. Erasing the background of a photo you will paint and then changing the background color is a great example of using technology like Procreate to help you make the correct artistic decisions for your artwork.
If you want more videos about using Procreate for your artwork, check out our YouTube channel, Anita Louise Art, by clicking here. Also, check out other blogs we have written on Procreate by clicking here. My goal is to help other artists use Procreate as a tool to help them save time by planning their artwork first in Procreate before painting on the canvas.
Frequently Asked Questions
How do I erase the background in Procreate?
You can use the Erase tool in Procreate to remove the background. Simply select the Erase tool, adjust the brush size, and start erasing the areas you want to remove.
Can I use the Erase tool to create precise outlines?
Yes, the Erase tool in Procreate allows for precise control. You can adjust the brush size, opacity, and hardness to create detailed and accurate outlines.
Is it possible to undo erases in Procreate?
Yes, Procreate has an undo feature that allows you to reverse any action, including erases. You can find the undo button in the top menu or use a two-finger tap gesture.
How do I change the background color after erasing it?
Once you’ve erased the background, go to the color palette and select the desired background color. Then, use the Fill tool to apply the new color to the erased area.
Can I use a custom color for the background in Procreate?
Absolutely. Procreate offers a wide range of color options, including custom colors. You can use the color wheel or input specific color values to create a custom background color.
What if I want a gradient background instead of a solid color?
Procreate allows you to create gradient backgrounds easily. Choose the Gradient tool, select your desired colors, and drag to create a gradient effect on the erased background.
Is there a way to refine the erased edges for a cleaner look?
To refine edges, use the Smudge tool or the Soft Eraser. These tools help smooth out edges and create a seamless transition between the erased area and the remaining content.
Can I erase only a specific color in the background?
To refine edges, use the Smudge tool or the Soft Eraser. These tools help smooth out edges and create a seamless transition between the erased area and the remaining content.
Can I erase only a specific color in the background?
While Procreate doesn’t have a specific tool to target and erase a particular color, you can use the selection tools to isolate areas based on color and then erase or modify them.
Does Procreate support layers for background adjustments?
Yes, Procreate supports layers, making it easy to work on the background separately. You can create a new layer for the background, erase as needed, and adjust colors independently.
How can I export my artwork with the changed background?
To export your artwork with the modified background, go to the wrench icon, select “Share,” and choose your preferred file format. Ensure that the background is visible, and Procreate will include it in the exported file.
Anita Louise Art is dedicated to art education, great artists, and inspiring others to find and create their art. We love art that uplifts and inspires. #ArtToMakeYouSmile! #ArtToMakeYouHappy!
If you are interested in seeing any of my art, you can find out more by clicking here. If you are interested in what inspires me and my paintings, you can discover more by clicking here.
We have a free newsletter and would love you to be part of our community; you can subscribe to the newsletter by clicking here. If you have any questions, I would be happy to talk to you. You can reach me, Anita, by clicking here.
Subscribe to our Anita Louise Art YouTube Channel filled with great videos and information by clicking here.
Join us for our podcast “5 Minutes With Art.” Spend just 5 minutes a week with us to discover and learn about great art and artists. You can find out more about our podcast by clicking here.
Related Questions
How Do You Use Procreate To Layout Your Oil Paintings?
Procreate is a great computer app to use to help you plan and layout your oil paintings before you put them on your canvas. Procreate will help to save you time because you will not need to paint over your artistic mistakes. You can also use Procreate as an online sketchbook or art journal.
You can discover more by reading Procreate to Layout your Oil Paintings, What You Need to Know by clicking here
How Can The Procreate App Help You Become a Better Oil Painter?
There are many ways that you can use procreate to become a better oil painter. Procreate can help you set up palettes with color combinations and lay out your painting before you paint it. I find it an essential tool to help me with my oil painting.
You can discover more by reading How Can The Procreate App Help You Become a Better Oil Painter? by clicking here.