Painting a dog can be a lot of fun. Dogs make a great subject matter to paint. The process does not need to be difficult if you follow these seven easy steps.
The seven easy steps you can take to paint a dog as a subject matter include 1) layout and plan your painting using Procreate and an Apple iPad, 2) print out your Procreate layout in the size of your canvas 3) prepare to use your Procreate layout to place your artwork onto the canvas 4) use studio charcoal to outline the Procreate layout on the canvas 5) fill in any missing lines of the design 6) start painting a base coat and 7) add details to your painting.
Table of Contents
- 7 Simple Steps for Oil Painting a Dog with Procreate as Your Guide
- Frequently Asked Questions
- Related Questions
7 Simple Steps for Oil Painting a Dog with Procreate as Your Guide
Capturing the essence of a dog in a painting is an enjoyable and rewarding experience. As a subject, dogs offer a range of expressive possibilities, making them a popular choice for artists.
By following these seven straightforward steps, the process of oil painting a dog becomes more accessible and less intimidating, even for beginners. These steps provide a clear guide to help you bring your canine subject to life on canvas, using Procreate to aid in the process.
Step 1 – Layout and Plan Your Painting
One of the most important things you can do whenever you start painting is to have a plan in mind. This will help to save you time in the long run and will help to give you the best possible painting.
I like to lay out my oil painting first on Procreate. I do this especially when I am painting something like a dog, and I need to make sure the proportions are as correct as possible.
To use Procreate you need to have an Apple Ipad. Procreate is not an expensive program (only $9.95 for the program) but you must invest in a decent Apple iPad and an iPad pencil.
In many places worldwide, Apple will teach classes in their stores about Procreate and the Apple iPad. They will allow you to try out the Apple iPad and Procreate before you purchase it. If you have any questions about this program, please visit Apple.com or go to your local Apple Store.
I love to use Procreate as it allows me to work off the canvas before I actually start to paint anything. One of the great things about this is that it will give me an idea of what the painting should look like before actually starting to paint anything on the canvas.
To find out more about Procreate and lay out your paintings with Procreate, can read our blog Procreate to Layout your Oil Paintings, and What You Need to Know by clicking here. We show you why we like to use Procreate to lay out our paintings. We really feel Procreate is a great tool to use to lay out your paintings before you put anything onto the canvas.
Watch our video below on the steps we use to layout our paintings, especially our dog paintings on Procreate.
The great thing about using Procreate is that it can give you an idea of what your painting may look like before you even start to paint it. I find that having an idea of what the painting could look like, it really helps me throughout the entire painting process.
I like to think of this as how the old masters would sketch out and draw out their paintings before they actually painted anything. Today, with technology and by using Procreate, this can be a much faster process than ever before.
Step 2 – Print Out the Layout
When you are painting a dog, one of the most important things is to get the proportions correct. If they are not correct, it can be a huge problem.
When I am painting something like a dog, and I know it will require that I get the proportions very close, I will print out my Procreate layout in the size I am going to be painting. If, for example, my canvas is 20″ x 20″ then I will print my layout in a 20″ x 20″ or 21″ x 21′ size.
Sometimes I will print out the larger size or size of my canvas in black and white. But I always print out the layout in color so I can use this Procreate color layout as my reference for my painting.
Today with technology there are so many ways you can use technology to help you with your painting. Indeed, one way is to get a very good printed copy that you can use as your model for your painting and then use the printers that are available to get it printed in the size and color that you need.
Step 3 – Prepare to Layout On Canvas
Once I have printed my Procreate layout print in either a large black-and white print or a color print, then I will use this as the basis to put an outline onto the canvas. This helps me to make sure I get the proportions as close as possible.
Two methods that I use to lay out my painting on the canvas and to get my proportions as close as possible:
- Trace the design layout onto tracing paper – Sometimes, I will trace and outline the Procreate layout print onto tracing paper. This will give me the shape and lines that I need to get very accurate proportions that I can then put onto my canvas.
- Use the Procreate Print – Other times I save this step of tracing and outlining onto tracing paper and will use the Procreate layout print to outline directly onto my canvas. Lately, I have been using this step so as not to have to use the extra step of tracing onto the tracing paper. But, if I find the print needs it then I will use the tracing paper to outline what I am painting first onto the tracing paper.
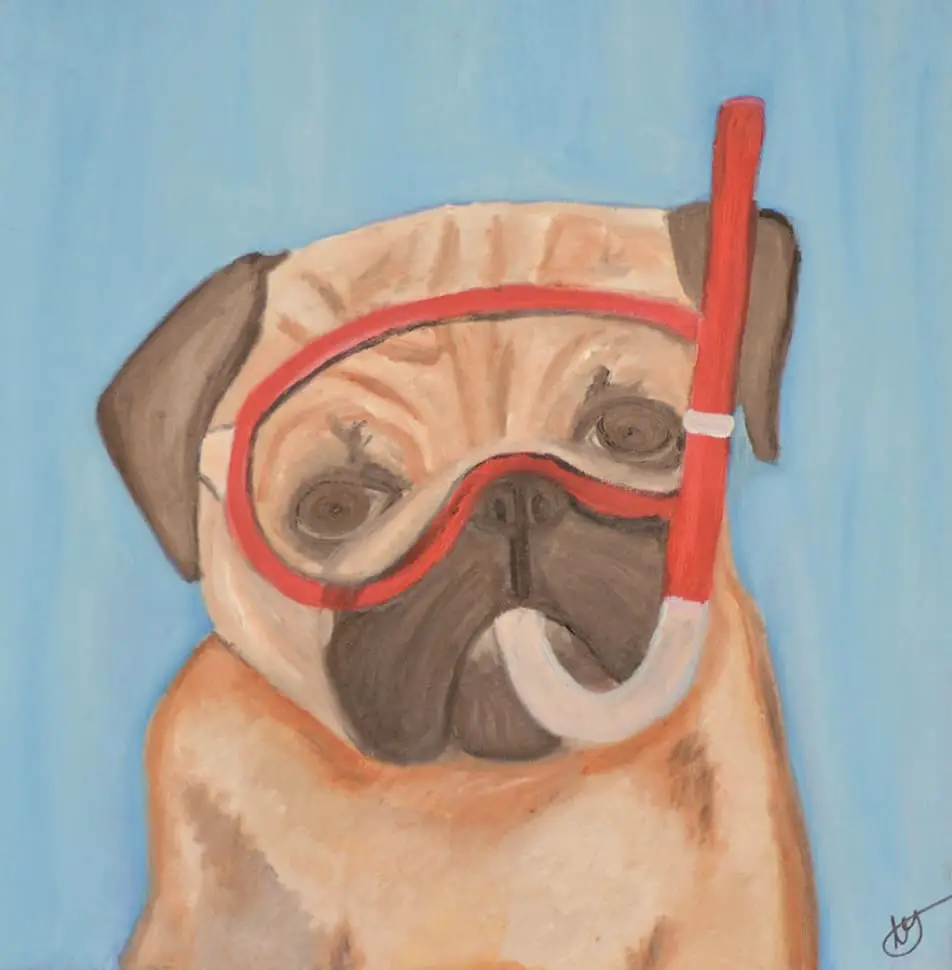
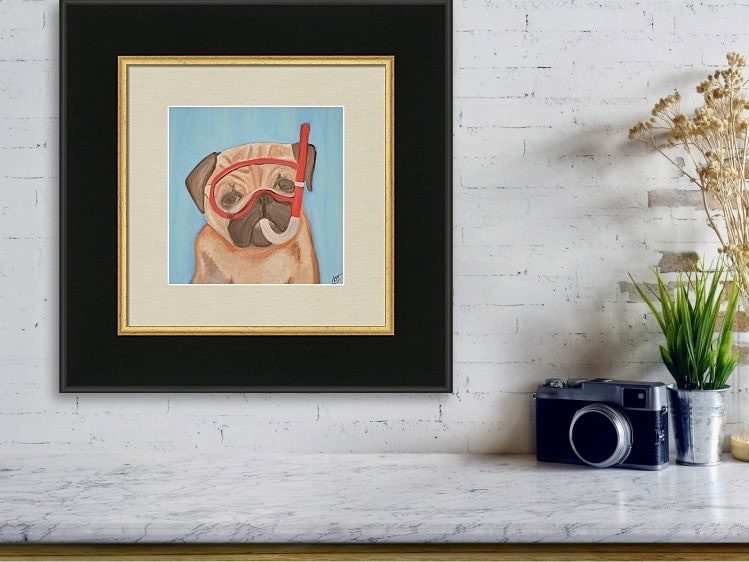
(This is one of my dog paintings using Procreate)
Step 4 – Use Charcoal to Put On The Canvas
Now that I have the print all set up either with the tracing paper or I am using my actual print copy, the next thing I will do is place the print and layout on to the canvas. I find by doing this way I do not need to spend a lot of time trying to guess the proportions of the painting and I can get it as accurate as possible.
Here is how I will do these steps:
- Use either my tracing paper or print in the exact size for my canvas. I will then put charcoal all over the back of it. The charcoal I use is similar to this basic Studio Charcoal. You can find out more about the Charcoal by clicking here.
- I will tape the tracing paper or print it onto my canvas using masking tape. Here is a good brand of masking tape that you use or something similar. You can find out more about the masking tape by clicking here. The reason I do this is when you are tracing onto the canvas, you do not want the paper or canvas to move. I use masking tape so it will not damage the canvas.
- Trace or outline the areas you want. I will try to outline as much as I can, especially when I am painting dogs. I will also try to outline the areas that have shading or color changes roughly. This way, when I start to paint I do not need to guess so much as to where to put the shading or other changes on the canvas. This can give me a really great rough guide.
- Many times I will trace using a colored pencil or pen on the topside of the Procreate layout print. This is so I can clearly see where I have already traced. I have found that if I do not do this, I can sometimes forget an entire section or part and have to try to match it up again.
- Once I have completed this I will carefully take the print or tracing paper off the canvas and make sure I have put in all the lines that I need to onto the canvas.
Step 5 – Fill In the Lines on the Canvas
Once I have taken the paper or the tracing paper off the canvas, I will then check the lines on the canvas. If you did not use enough of the charcoal on the back of the tracing paper or Procreate layout print, you may have missed areas of the design.
This is why with the tracing paper method, you can more easily go back to try to line it up and fill back in the lines. When using just the Procreate layout print method, this is much more difficult.
I will then get out my pencil or charcoal and start to pencil or fill in the lines or areas I need to. Sometimes the charcoal is dark enough, and I do not need to do anything else. Other times it may need to have a light pencil sketch on it.
My goal in all these steps is to have a design roughly sketched out on the canvas that is defined enough so that I can really get the proportions correct for my paintings.
Step 6 – Start With a Base Coat
I always start my painting with a base coat. The significant part of this is that now I have an idea of where the colors and shading will be, so many times during this base coat I can get quite close to how the painting will look.
What is important in this step is that you make sure you do the following:
- Carefully check your proportions. Proportions are very important when you are painting a dog. So, you need to ensure you have the correct proportions during this stage.
- The base coat should be as close to the colors you want as possible. If your dog is going to be brown, then paint the base coat brown in the appropriate area. If the dog is to be white, then paint the white tones for your base coat. Use those colors for your base coat, which are as close to the colors you want for the finished project. This is another reason why to lay things out on Procreate and to have a clear plan before you start painting is so essential.
- Add as much detail as you can. I find if I can add as much detail as I can during this phase, it helps save me time for my entire painting.
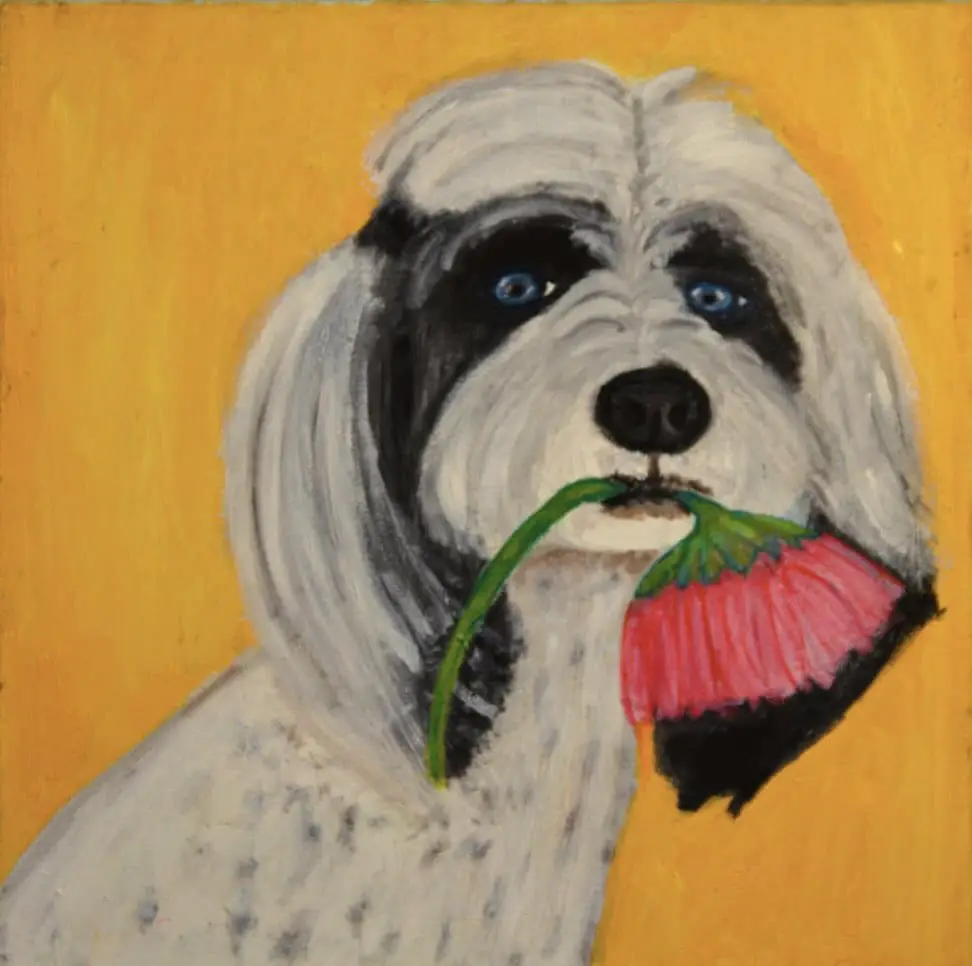
(This is one of my dog paintings using Procreate)
Step 7 – Add the details to the painting
Once you have painted your base coat, you are ready to paint the finer details on your base coat. When painting dogs, it usually takes me another two or three coats and sometimes even four or five coats of paint before I am completed. How many paint coats I need to paint will depend on what I am painting.
Some things to consider when painting dogs:
- Mix colors on the canvas – When I am painting dogs, especially when painting the fur of dogs, I will mix a lot of the colors on the canvas, not on the palette. This helps give some of the natural variations of animals’ fur colors.
- Use a lot of white – I tend to use a lot of white colors for example, white with brown or white with black or grey when I do the fur coat of a dog. The brushing can help it look more like fur.
- Don’t be afraid to add to the eyes – The eyes of animals are just as important to paint if you are painting a human being. So do not be afraid to add some color to the eyes of the dogs.
- Consider using deep indigo blues instead of black – I love indigo blue and use it a lot in my paintings. Many times, I will use it in place of black. So do not be afraid to use deep colors like indigo blue to replace harsher colors like black.
Dogs are really great subject matter to paint. They are not only fantastic paint subject matters but also a lot of fun to paint. If you follow these 7 simple steps painting a dog can also be quite easy to paint.
Anita Louise Art is dedicated to art education, great artists, and inspiring others to find and create their art. We love art that uplifts and inspires. #ArtToMakeYouSmile! #ArtToMakeYouHappy!
If you want to see any of my art, you can find out more by clicking here. If you are interested in what inspires me and my paintings, you can discover more by clicking here.
We have a free newsletter and would love you to be part of our community; you can subscribe to the newsletter by clicking here. If you have any questions, I would be happy to talk to you anytime. You can reach me, Anita, by clicking here.
Subscribe to our Anita Louise Art YouTube Channel with great videos and information by clicking here.
Join us for our podcast “5 Minutes With Art.”Spend 5 minutes a week with us to discover and learn about great art and artists. You can find out more about our podcast by clicking here.
Frequently Asked Questions
What is Procreate, and why is it recommended for oil painting a dog?
Procreate is a digital art app designed for the Apple iPad. It provides a versatile platform for planning and creating artwork. Using Procreate for oil painting a dog ensures a user-friendly experience with various tools and features.
Do I need an Apple iPad to follow the seven easy steps for painting a dog?
Yes, an Apple iPad is recommended for using Procreate, as it offers a touch-sensitive screen and stylus compatibility, providing a more seamless and precise digital painting experience.
Why should I print out the Procreate layout for my canvas?
Printing out the Procreate layout allows you to have a physical reference of your digital plan in the exact size of your canvas. This helps in accurately transferring the design onto the traditional canvas.
What materials do I need to prepare for placing the Procreate layout onto the canvas?
To transfer the Procreate layout, you will need studio charcoal. This material ensures clear and easily erasable outlines on the canvas, aiding in the initial sketching phase.
How do I ensure all the lines from the Procreate layout are accurately transferred to the canvas?
After using studio charcoal to outline the Procreate layout, carefully inspect and fill in any missing lines on the canvas. This step ensures a complete and accurate representation of your digital design on the traditional canvas.
Can I use a different method to outline the Procreate layout on the canvas?
While studio charcoal is recommended, artists have the flexibility to experiment with other outlining tools, such as graphite pencils or other preferred mediums, based on personal preference and the desired effect.
What is the significance of starting with a base coat in the oil painting process?
Starting with a base coat provides a foundation for your artwork, establishing the overall color scheme and tonal values. This step creates a solid starting point for building layers and adding depth to your dog painting.
Can I use different painting techniques for the base coat in oil painting a dog?
Yes, artists have the freedom to experiment with various techniques, such as wet-on-wet or glazing, when applying the base coat. Choose a technique that aligns with your artistic vision and desired texture for the painting.
Related Questions
How To Use Procreate to Layout Your Paintings?
Procreate is a really great app to use to help you plan and layout your oil paintings before you start to paint them. With Procreate, you can layout and plan the photos you are going to paint before you actually paint them. Or you can layout and plan an actually painting by sketching the painting you want to paint entirely on Procreate before you actually mix any paints or put an actual stroke on your canvas. This will help to save you a lot of time when you actually start to mix your colors and paint. You can also use Procreate as an online sketchbook where everything can then be stored on the iCloud so that you can easily find it.
To find out more, you can read our blog on Procreate to Layout your Oil Paintings, What You Need to Know by clicking here. \
How Do I Stretch My Own Canvas?
To stretch your own art canvas, you will first need to have all the correct supplies and tools, this is one of the most important things. Once you have the right tools, then you will need to assemble the stretcher bars onto a frame and put the canvas on the frame with a staple gun. The canvas should be taut and tight like a drum. Once you are sure the canvas fabric is taut or tight as a drum, you can then put the gesso onto the canvas to prepare the art canvas for painting.
To find out more about how to stretch your own canvas, you can read our blog on A Beginners Guide to Stretching Your Own Art Canvas by clicking here.